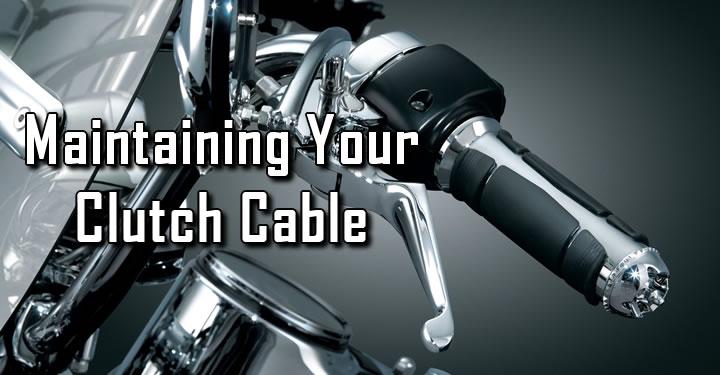
Is your clutch getting harder and harder to pull in? Well, here's a couple pieces of good news: 1) You're probably not getting arthritis and 2) It shouldn't require any costly repairs to get it moving smoothly again.
In most cases you can make your clutch lever operate as smoothly as new by simply cleaning & lubricating the cable. In extreme cases of cable wear or fraying, the cable may require replacement.
Lubricating the clutch cable:
Step 1 - Loosing the Cable
The first step is to loosen the clutch cable and remove the cable ferrule from the clutch lever housing, giving access to the open end of the cable shield.
Depending on your motorcycle, your clutch cable adjustment will most likely be one of three types: 1) In-line cable adjuster, where the cable adjustment assembly is located within the cable between the clutch lever and the transmission (normally in an easy accessible spot), 2) Clutch lever housing adjuster, where the clutch adjustment assembly is located at the top of the cable where it enters the clutch lever housing, or 3) Lower clutch cable adjuster, where the adjustment is located at the transmission end of the clutch cable.
In all cases, the adjuster will consist of a jam (locking) nut or wheel, and an adjustment nut or thumbscrew. Loosen the jam nut and turn the adjustment screw to completely loosen the cable (normally clockwise).
Note: on motorcycles with a clutch lever housing adjuster, align the slots on the jam wheel and the adjuster with the slot in the clutch lever housing.)
Once the cable adjuster has been loosened, remove the cable ferrule from the clutch lever housing. To do this pull the ferrule and cable outer shield away from the lever housing and slip the inner braided cable thought the slot in the cable housing.
Step 2 - Lubricating the Cable
Hold the outer cable shield down and away from the lever so that the opening where the inner cable enters the shield is facing upward. Use a very thin lubricant (Bike Aid Film Lubricant, Dri-Slide, PJ-1 Cable Lube or similar lubricant) and apply directly into the cable shield opening while shaking the cable. Wait 30 seconds or so for the lubricant to flow down the cable and repeat.
Caution: Protect and completely wipe away any overspray and excess lubricant from all hand controls, foot controls, tires and brakes!
Step 3 - Re-installing & Adjusting the Cable
Re-install the cable by reversing the steps taken to remove it... pull the cable ferrule back and re-insert the inner cable into the slot on the lever housing. Re-seat the ferrule into it's opening in the lever housing.
To re-adjust the cable, turn the cable adjustment nut counter-clockwise until the clutch lever regains tension. Squeeze the clutch lever several time and ensure the ferrule is properly seated.
Adjust the cable until there is a 1/16" to 1/8" gap* between the ferrule and the lever housing or the lever and the lever housing, whichever is easier to see. (in-other-words, the clutch lever should move 1/16" to 1/8"* at the beginning of travel without feeling any tension)
(*Note: 1/16" to 1/8" of free play is a standard adjustment for most motorcycles. Check your motorcycles service manual for adjustment specifications.)
Your clutch lever should now operate as smoothly as it did when it was new. If your clutch is still hard to operate, the cable may be worn or frayed and should be replaced. For cable replacement, refer to your service manual or take your motorcycle to an authorized service center.
As with the completion of any service, you should test ride your motorcycle in a controled situation before traveling in traffic.